Creating a Virtual Exhibition allows you to showcase your Artworks in an immersive gallery space, share them with visitors, and customize the look and feel of your show. Follow this step-by-step guide to set up your own exhibition.
Table of Contents
- Step 1: Start a New Exhibition
- Step 2: Enter Exhibition Details
- Step 3: Curate Your Exhibition
- Step 4: Customize the Venue
- Step 5: Finish and Publish
Step 1: Start a New Exhibition
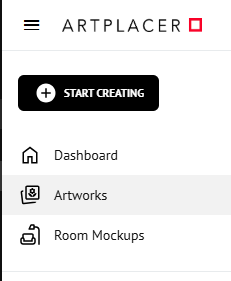
- To begin, open the Virtual Exhibition section by going to Sidebar > My Creations > Virtual Exhibitions.
- Click the "NEW" button
Step 2: Enter Exhibition Details
Fill in the required information for your exhibition:
Venue: Select the venue where you’d like to exhibit your show.

1. Details: Add the Title (mandatory), Name, Author, Date, Description, and Language.
2. Brochure: Upload a brochure of the exhibit in PDF format. (You can create one with our Portfolio Presentation feature)
3. Thumbnail: Choose an image for your Virtual Exhibition’s thumbnail.
If you don’t upload an image, the system randomly selects an Artwork from your exhibit each time it generates a thumbnail.
Note: PNG files are not accepted as thumbnails.

- 4. Ambient Sound
Click Add music to browse ArtPlacer's royalty-free music library and select a track to use as ambient sound in your exhibition. Learn more here.
- 5. Widgets & Permissions:
- Enable/disable the Augmented Reality Widget.
Allow or disable Visitor Inquiries about your Artworks.
Decide if you want to Request visitor info (name, last name, email) to access your exhibition. This allows you to collect visitor information in the Contacts section.
Step 3: Curate Your Exhibition
Click START CURATING to begin navigating the venue using the on-screen buttons or your keyboard.
Adding Artworks
- Navigate the venue and locate a wall slot (boxes with numbers across the venue), or locate it by number in the side panel > click on one of them > Add Artwork.
- Choose the Artwork from your Artwork catalog (previously uploaded in the Artworks section).
- Use the search bar to find artworks by name.
- Or filter artworks by collection.
- Click Apply to add it to the slot.
Quick option: Instead of selecting slot by slot, click Select Artworks in the side panel. The Artwork you pick will automatically be placed in the first available slot.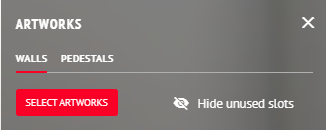
⚠️ Greyed-out Artworks in your catalog mean they’ve already been added to this exhibition.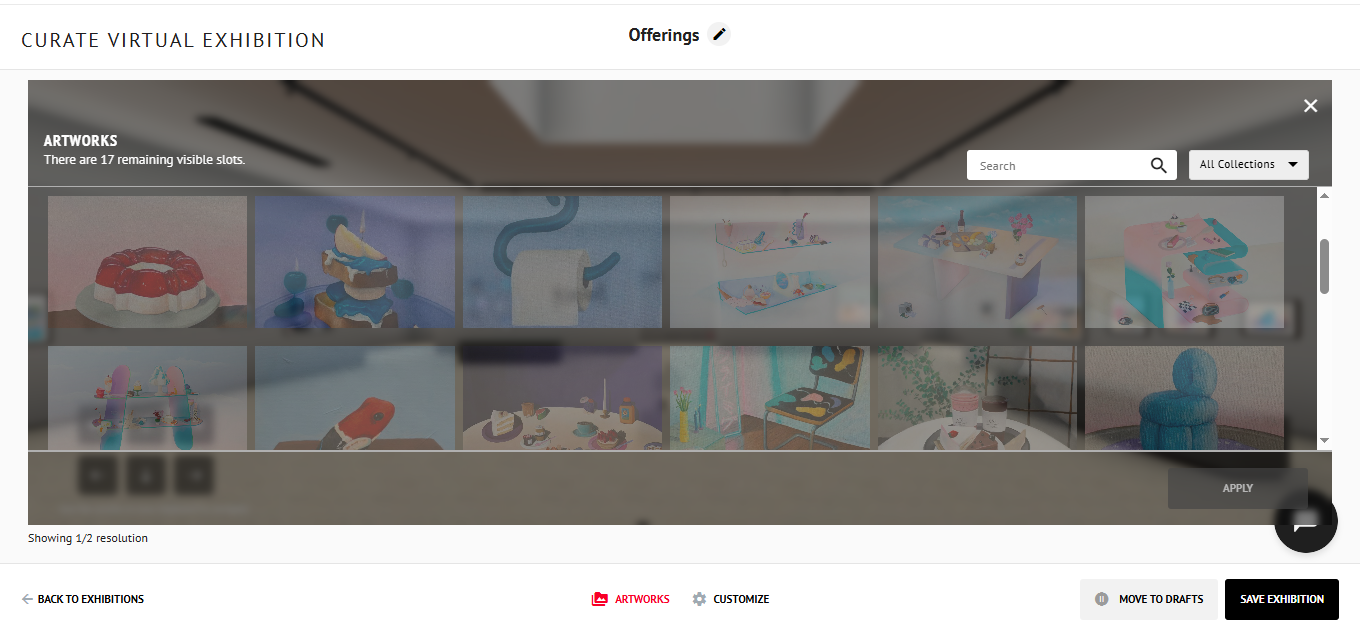
Adjusting Artworks
After clicking on an Artwork, on the side panel on your right, you can:
Add a Frame
Click Choose a Frame.
In the popup, scroll or search for the frame you want.
Click Set.
(Optional) Once you´ve chosen a frame, you can select the "Apply frame to all Artworks" option to use the same frame across the entire exhibition.
⚠️ Note:
The frames displayed in Virtual Exhibitions are limited to the default ArtPlacer options. Custom frames created through the Frame Builder cannot be applied in Virtual Exhibitions due to technical restrictions.
Available Frame Options
You can choose from the following frame styles and variations available in Virtual Exhibitions:
Ash natural wood:
Ash Floating Frame
Ash Thick
Ash Thin
Ash Thin with Black Mat
Ash Thin with Mat
Black painted wood:
Black Floating Frame
Black Thick with Mat
Black Thin
Black Thin with Mat
Cherry natural wood:
Cherry Floating Frame
Cherry Thick
Cherry Thin
Cherry Thin with Mat
Light Gray painted wood:
Light Gray Floating Frame
Light Gray Thin with Black Mat
Light Gray Thick
Light Gray Thin
Light Gray Thin with Mat
Off-White painted wood:
Off-White Floating Frame
Off-White Thick
Off-White Thin
Off-White Thin with Mat
Walnut natural wood:
Walnut Floating Frame
Walnut Thick
Walnut Thin
Walnut Thin with Mat
- Enable transparent background:
- In the Basic Info section, check Transparency.
- This removes shadows behind irregular or 3D-like pieces and places the Artwork flush against the wall.
- Adjust the position:
- Use the sliders to move the artwork horizontally or vertically.
- Click the reset icon to return to the default placement.
- Adjust the scale of the Artwork display.
- ⚠️ Note: Please note that to make any changes to an Artwork while curating a Virtual Exhibition, whether it’s the title, size, materials, description, price, year, etc. You’ll need to update it directly from the Artworks section.
To do so, go to sidebar > Artworks > edit the artwork > save your changes, and then return to your exhibition to continue curating
Adding Sculptures
If you want to include a sculpture:
- Follow the instructions in this article on uploading sculptures to ArtPlacer.
- Click on a Pedestal in the Venue or use the side panel > Pedestals > Add Artwork
- Once you add the sculpture, use the side panel to customize the size, position, and color of your pedestal. Alternatively, you can also remove it.

Adding Videos
You can also add videos to your Virtual Exhibition. To learn how, head to this article.
Optional: Add Wall Text
Enhance the visitor experience by adding wall text. You can use this space to:
- Describe the story told by the exhibition.
- Share information about the artist(s).
- Provide context about the Artworks.
Learn How to Add Wall Text to your Exhibition here.

Managing Existing Artworks
All Artworks in your exhibition can be managed from the side panel:
- Reorder: Drag a slot up or down to change its order.
- Hide unused slots:
- Hover over a slot and click the hide icon to hide it.
- Or click Hide unused slots to remove them all at once.

- Jump to a slot: Hover over a slot and click the person icon to navigate directly to it in the venue.
- Remove an artwork: Hover over a slot that contains an Artwork and click the delete icon.

Step 4: Customize the Venue
At the bottom of your screen, you’ll find a Customize button. Click it to personalize your exhibition by selecting:
- Flooring
- Wall color
- Ceiling color

Step 5: Finish and Publish
- SAVE EXHIBITION: Saves your progress and keeps the exhibition as a draft. Drafts are accessible from the My Virtual Exhibitions section.
- GO LIVE: If your exhibition is in "Drafts", click GO LIVE to make it shareable.
 When your exhibition is live, you'll see:
 - A public link to share with guests or on social media.
- An HTML embed code to add the exhibition to your website.
- The option to preview your exhibition.

Tip: When your exhibition is live, you also have the option to make it visible in your Discover Profile. This way, visitors can explore your exhibition alongside the rest of your curated work.
Learn how to curate a Discover Profile here.