Table of Contents
- Set Up Your Walls
- Add Your Artworks
- Adjust Your Artworks
- (Optional) Add Frames
- Finalize, Save, and Share Your Design
The Art Show Planner lets you design your exhibition space on screen, placing your Artworks on walls that match the real dimensions of your booth or gallery. In this article, you will learn how to set up your walls, place and adjust your Artworks, and save your design.
Set Up Your Walls
- To open this section, go to Sidebar > My Creations, and then click on Art Show Planner.
- Click NEW.

- Click anywhere in the space to set the Art Show Planner walls.
- Use your cursor to drag and drop the wall to the desired area. Then, use the panel at the bottom to configure the width, height, scale, and color of the wall. When you finish, click DONE.[screenshot]
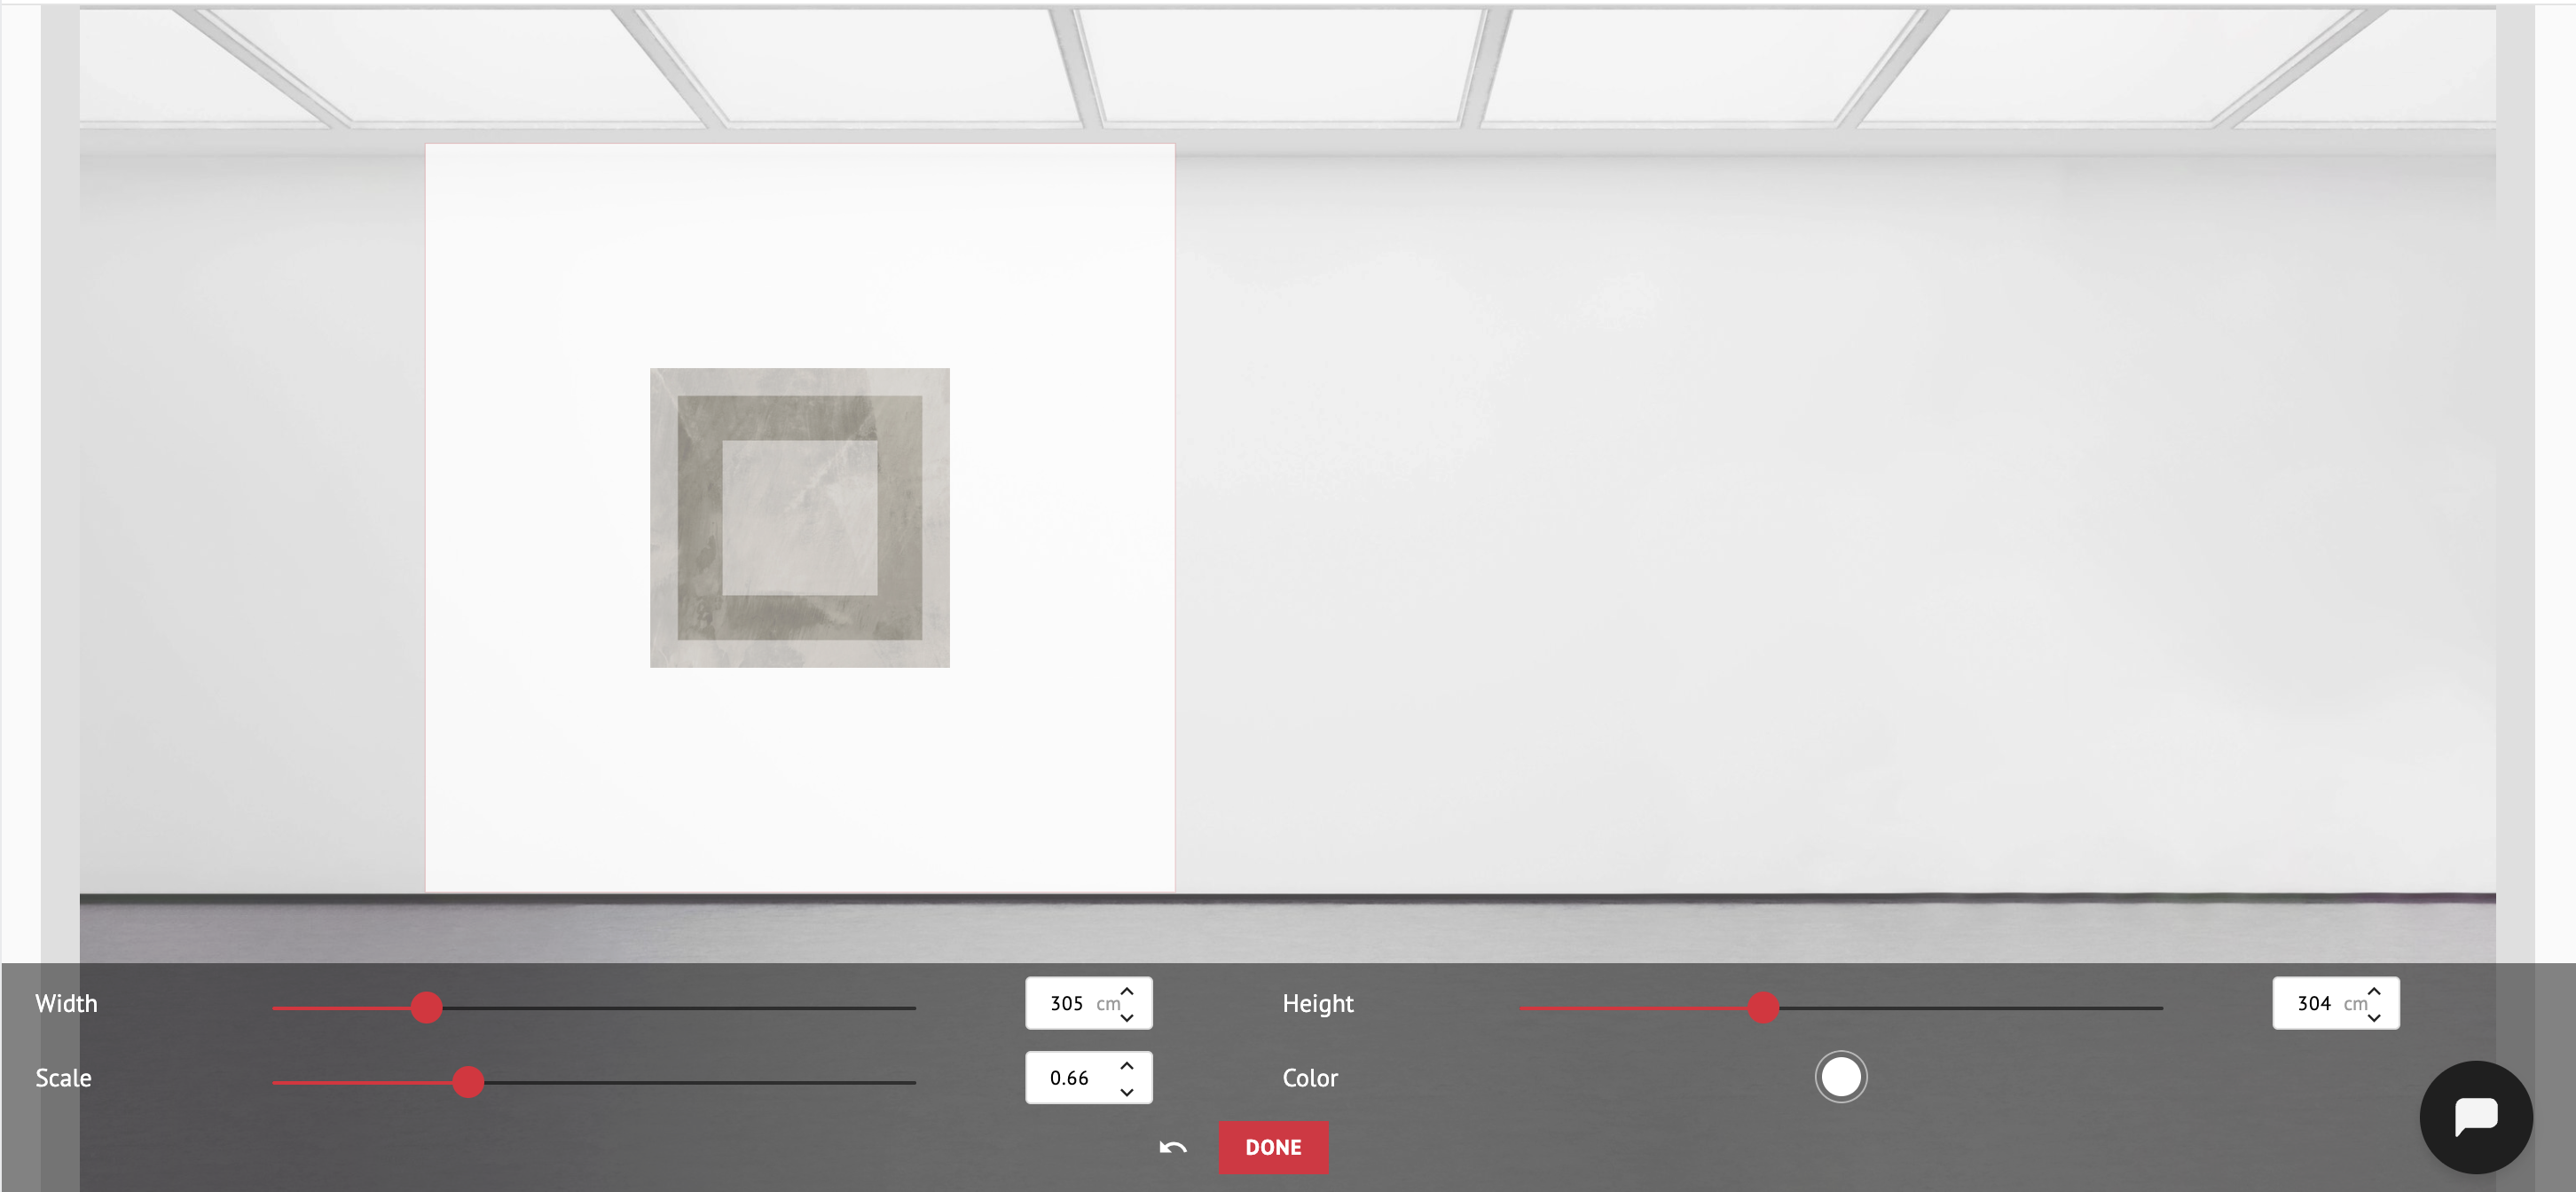
⚠️ Note: If, after clicking DONE, you want to add another wall, click anywhere in the space to set a new one and follow the same steps again.
- When you are happy with the result, click DONE and then SAVE & FINISH.
- Add a title to the space and click Save.
Add Your Artworks
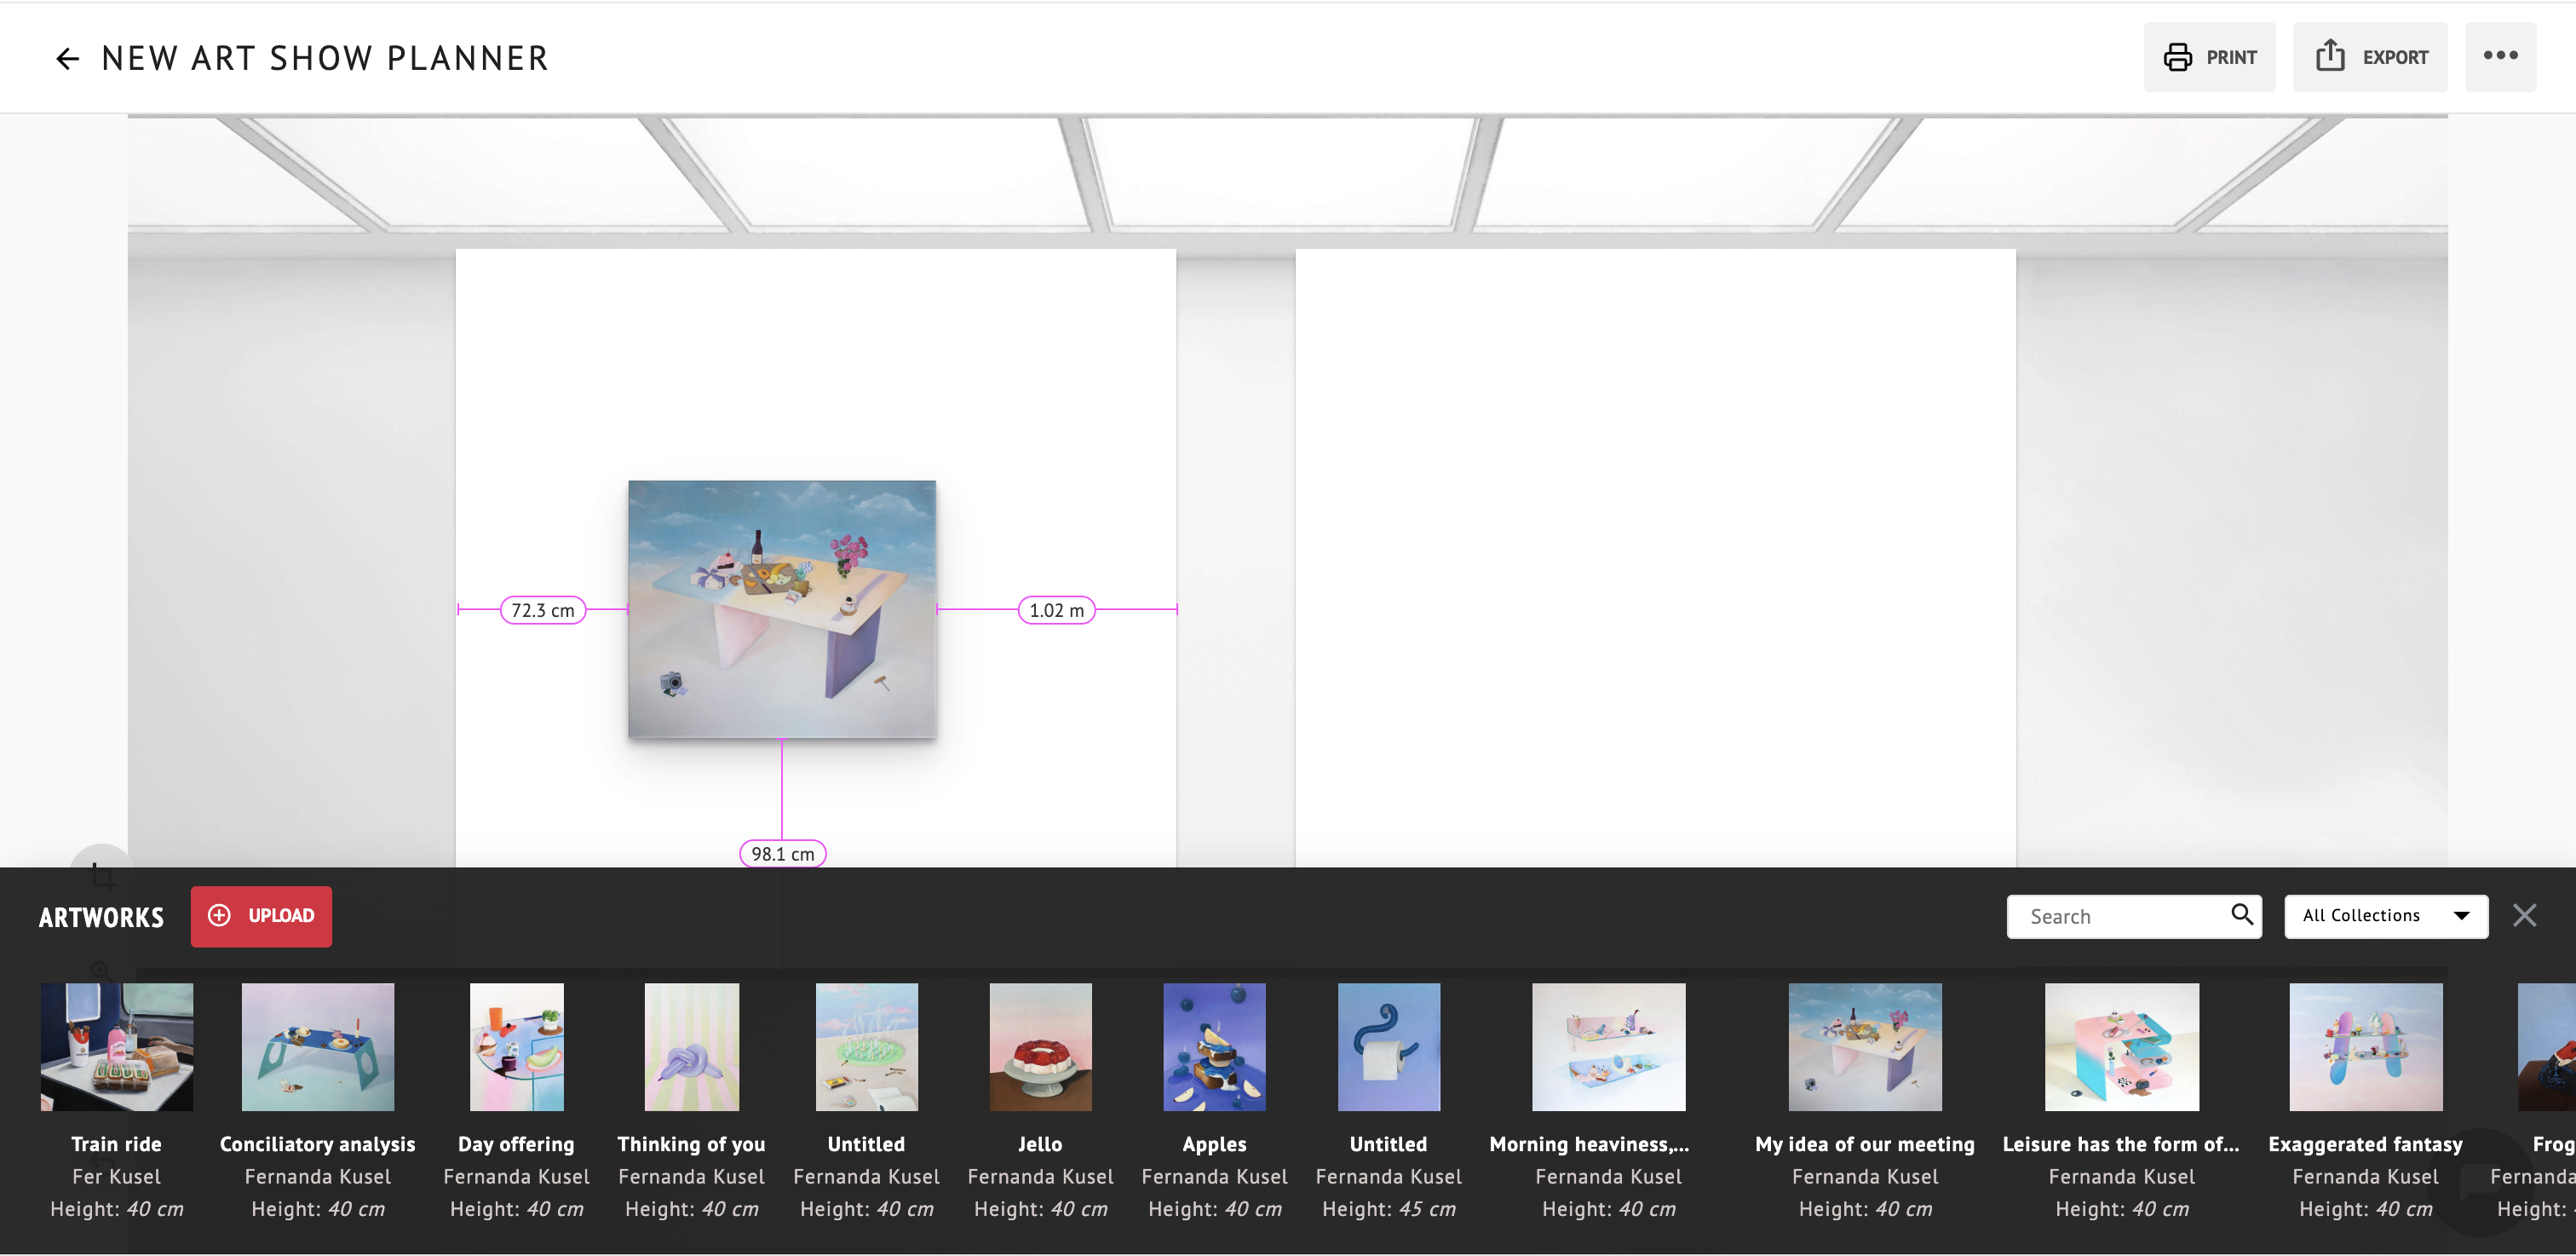
- Click (or tap) where it says Artworks at the bottom of your screen.
- Upload your Artwork file, or drag and drop one that you already uploaded, to position it within the wall.
Adjust Your Artworks
Once your Artworks are on the wall, you can fine-tune their size, position, lighting, and spacing for a polished and cohesive presentation. Click on an Artwork to select it, and the options will appear at the bottom of your screen.
Adjust the Size
Use the Size button to adjust each Artwork individually, so you can scale it precisely based on the proportions of your piece and the wall.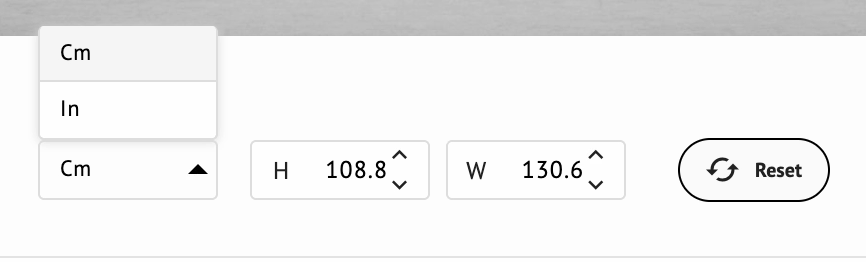
Adjust the Position
Use the Position button to:
- Align Artworks.
- Distribute spacing evenly between multiple Artworks.
- Rotate Artworks.
- Place Artworks at the default exhibition height (57").
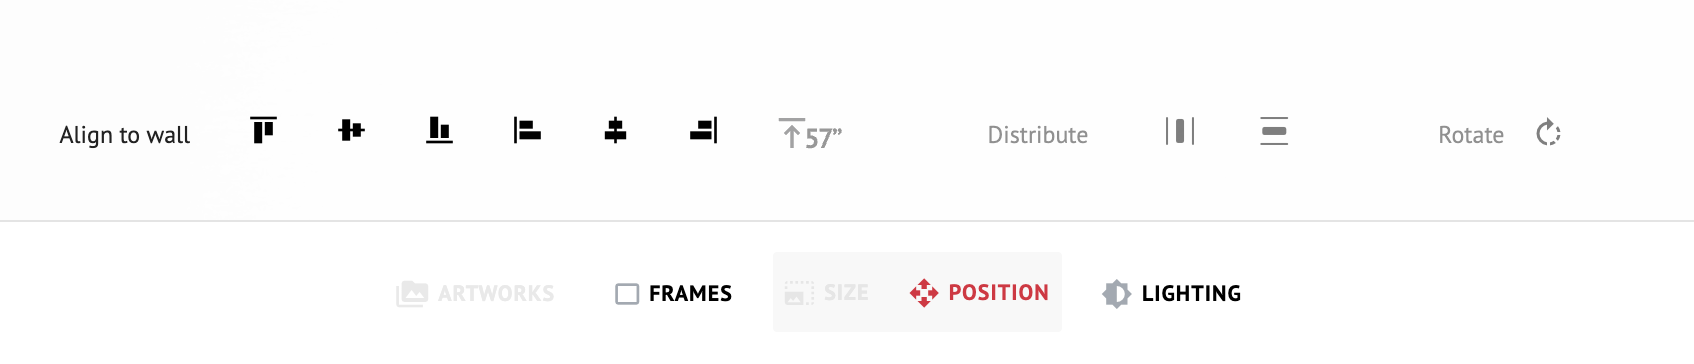
Why 57"? In the art world, 57 inches from the floor to the center of the Artwork is the standard eye-level hanging height in museums and galleries. We include this setting so you can achieve a professional presentation with a single click.
Adjust the Lighting
Use the Lighting button to open the Lighting panel, where you can:
- Adjust the Artwork’s shadow spread, angle, and opacity.
- Adjust the Artwork’s brightness.
- Adjust the Artwork’s contrast.
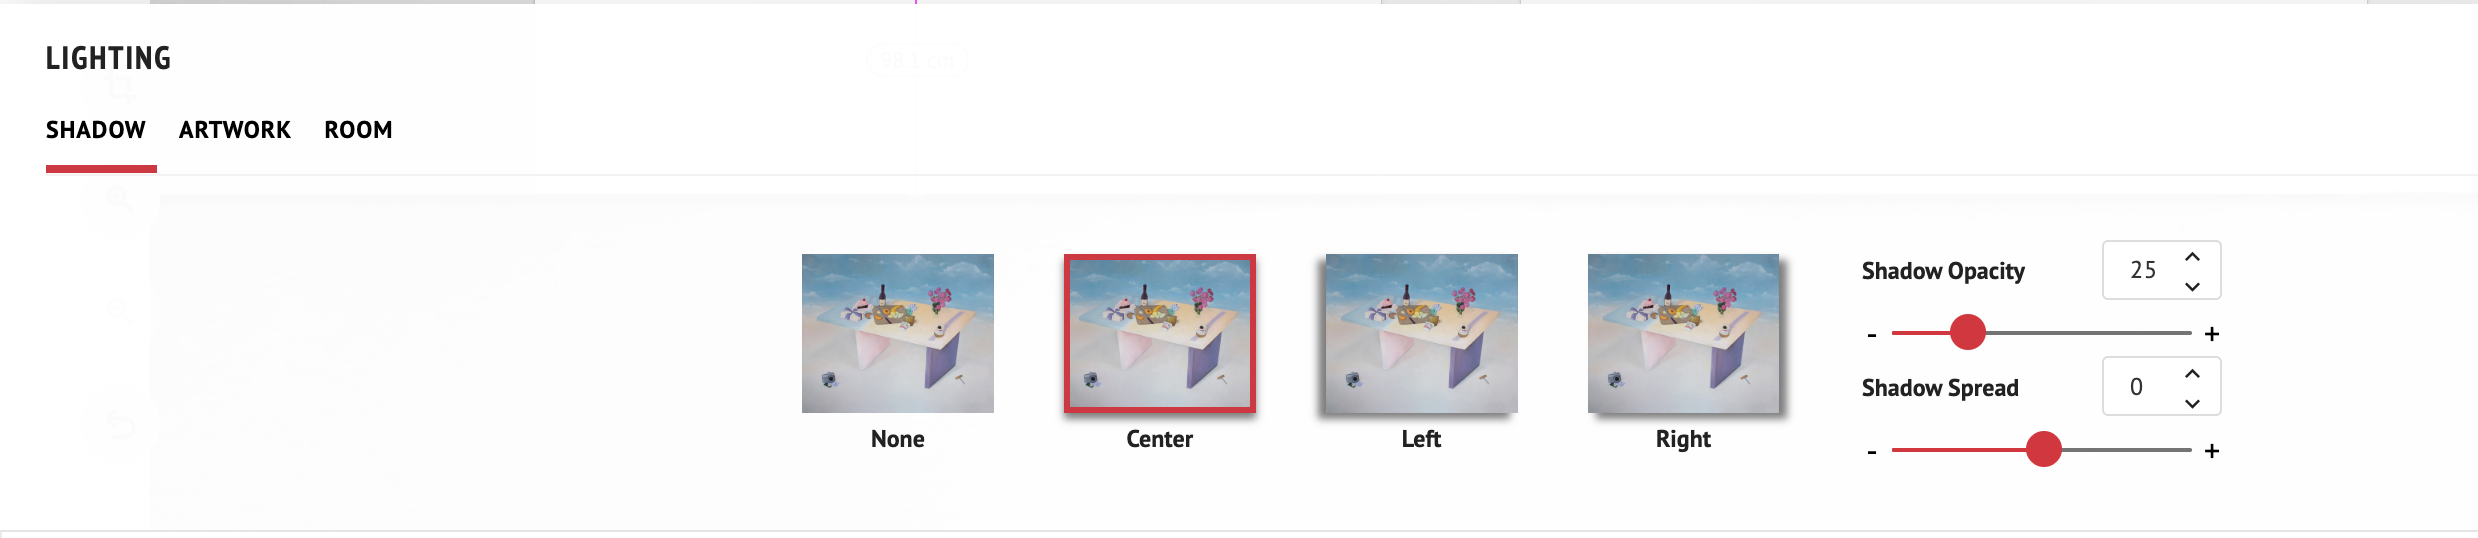
See the Distance Around Your Artwork
When you select an Artwork, lines with numbers appear around it. They show how much space is left on each side, so you can place your pieces with confidence.
- Left and right: the space to the closest Artwork on that side. If there is no Artwork next to it, the line measures to the edge of the wall.
- Bottom: the space to the Artwork right below it. If there is none, it measures to the bottom edge of the wall.
- Top: the line only appears if there is another Artwork above.
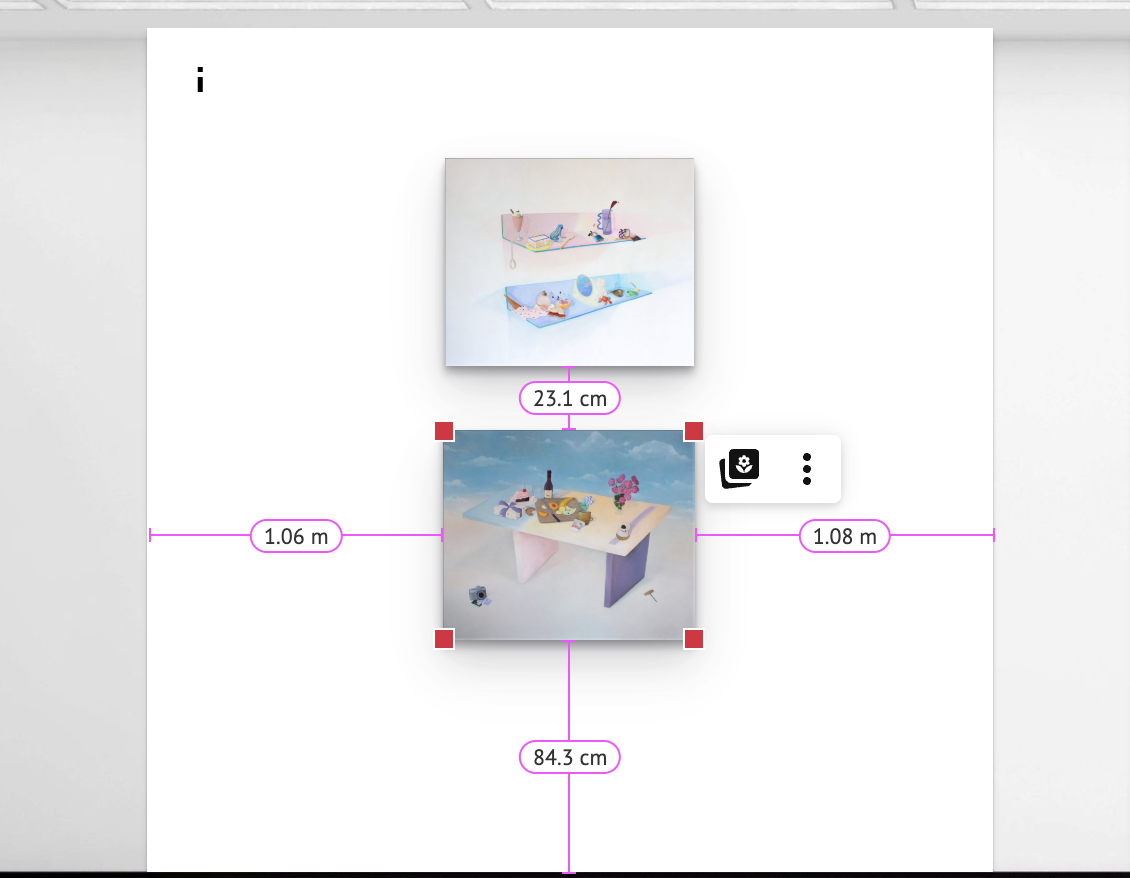
The measurements go from edge to edge of each Artwork. They update as you move, resize, or rotate the Artwork, or when you zoom in or out.
These lines are different from the alignment guides that appear when you drag an Artwork. The guides have no numbers; they only let you know that your Artwork is aligned with another on.
Note: The measurement lines appear when you have one Artwork selected. They are shown in the unit set in your account. To change it, read How To Change My Artwork Measurement Unit.
(Optional) Add Frames
Once your Artwork is placed and adjusted, you can complete your presentation by adding a frame.
- Click on the Artwork you want to frame. This is especially useful if you have several Artworks on the wall.
- Click the Frames button at the bottom of your screen to open the Frames panel.
- Select the frame you want, and it will apply instantly.
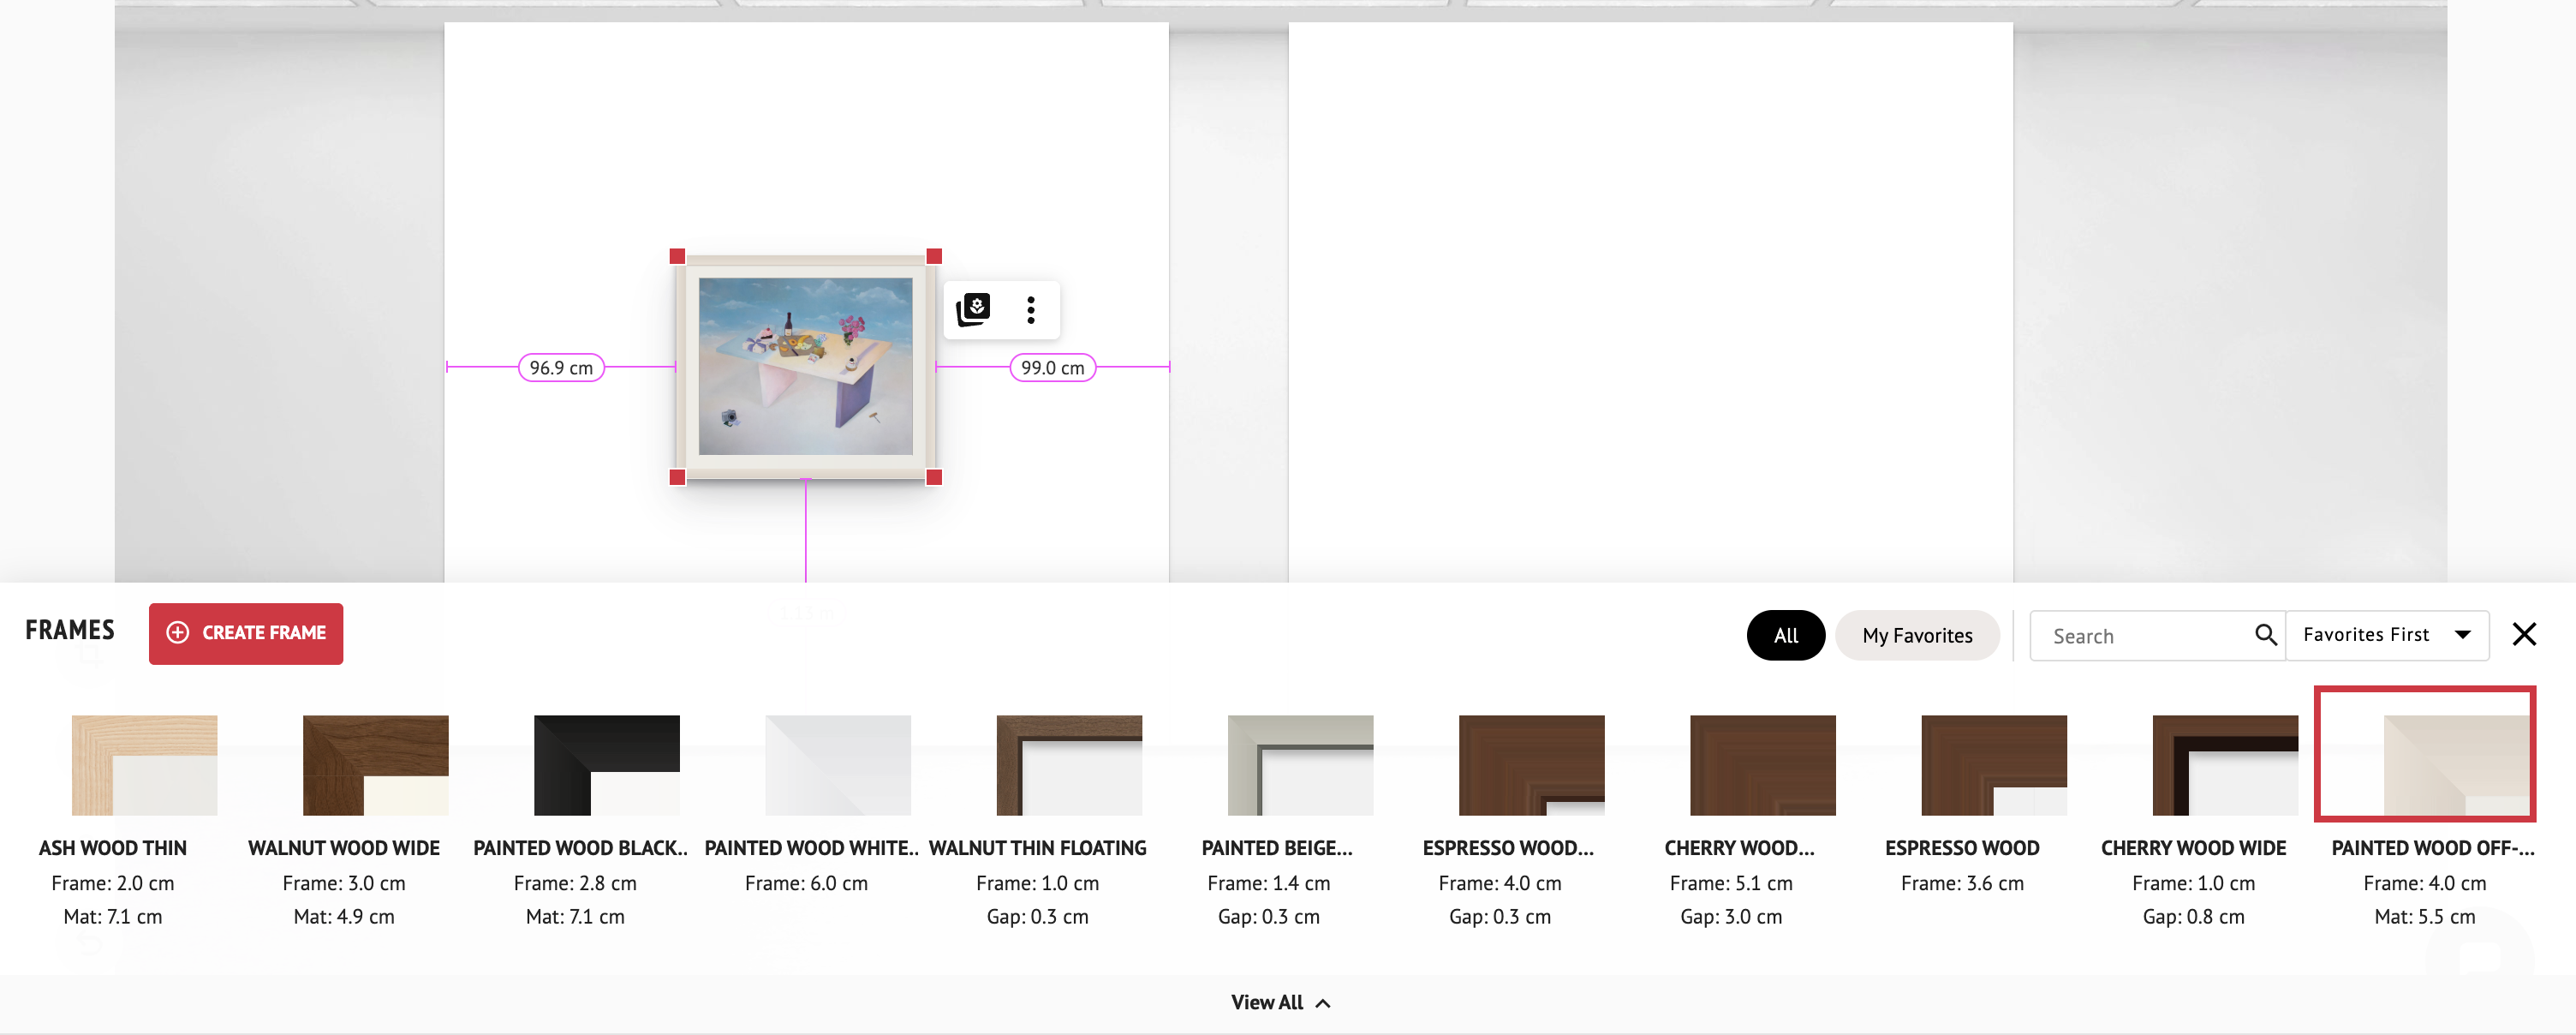
In the Frames panel, you can:
- View all available frames: browse your complete Frame Library, including the default frames provided by ArtPlacer and the ones you added or customized.
- Edit existing frames: update materials, colors, sizes, and other properties without leaving the panel.
- Create new frames: design a new frame from scratch to expand your options instantly.
- Save your favorite frames: hover over a frame and click the heart icon ❤️. Then, next to the Frames search bar, click My Favorites to see all the frames you saved, ready to use in future projects.
Finalize, Save, and Share Your Design
When you are happy with your layout, save it and share your new design.
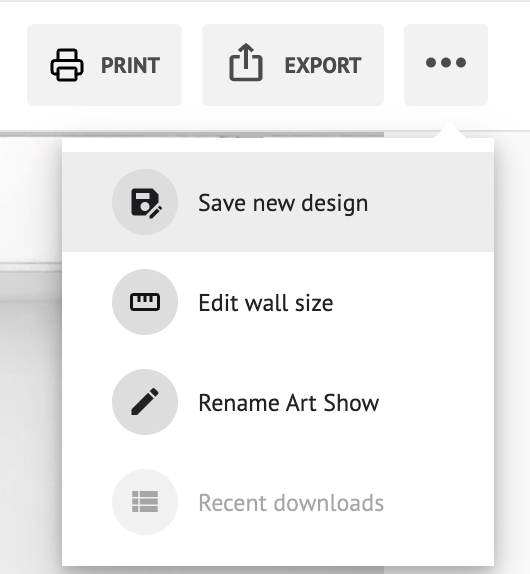
Tip: You can also print your layout, with the measurements of all your Artworks, to take it with you on setup day. Read How To Download an Art Show Planner to learn how.